Have you been wanting to try out raised beds, but questioning where to start and what materials to use. I have one idea you could consider, and that is to build it out of concrete blocks. These should not harm the soil if you plan to grow vegetables either, which is a bonus.
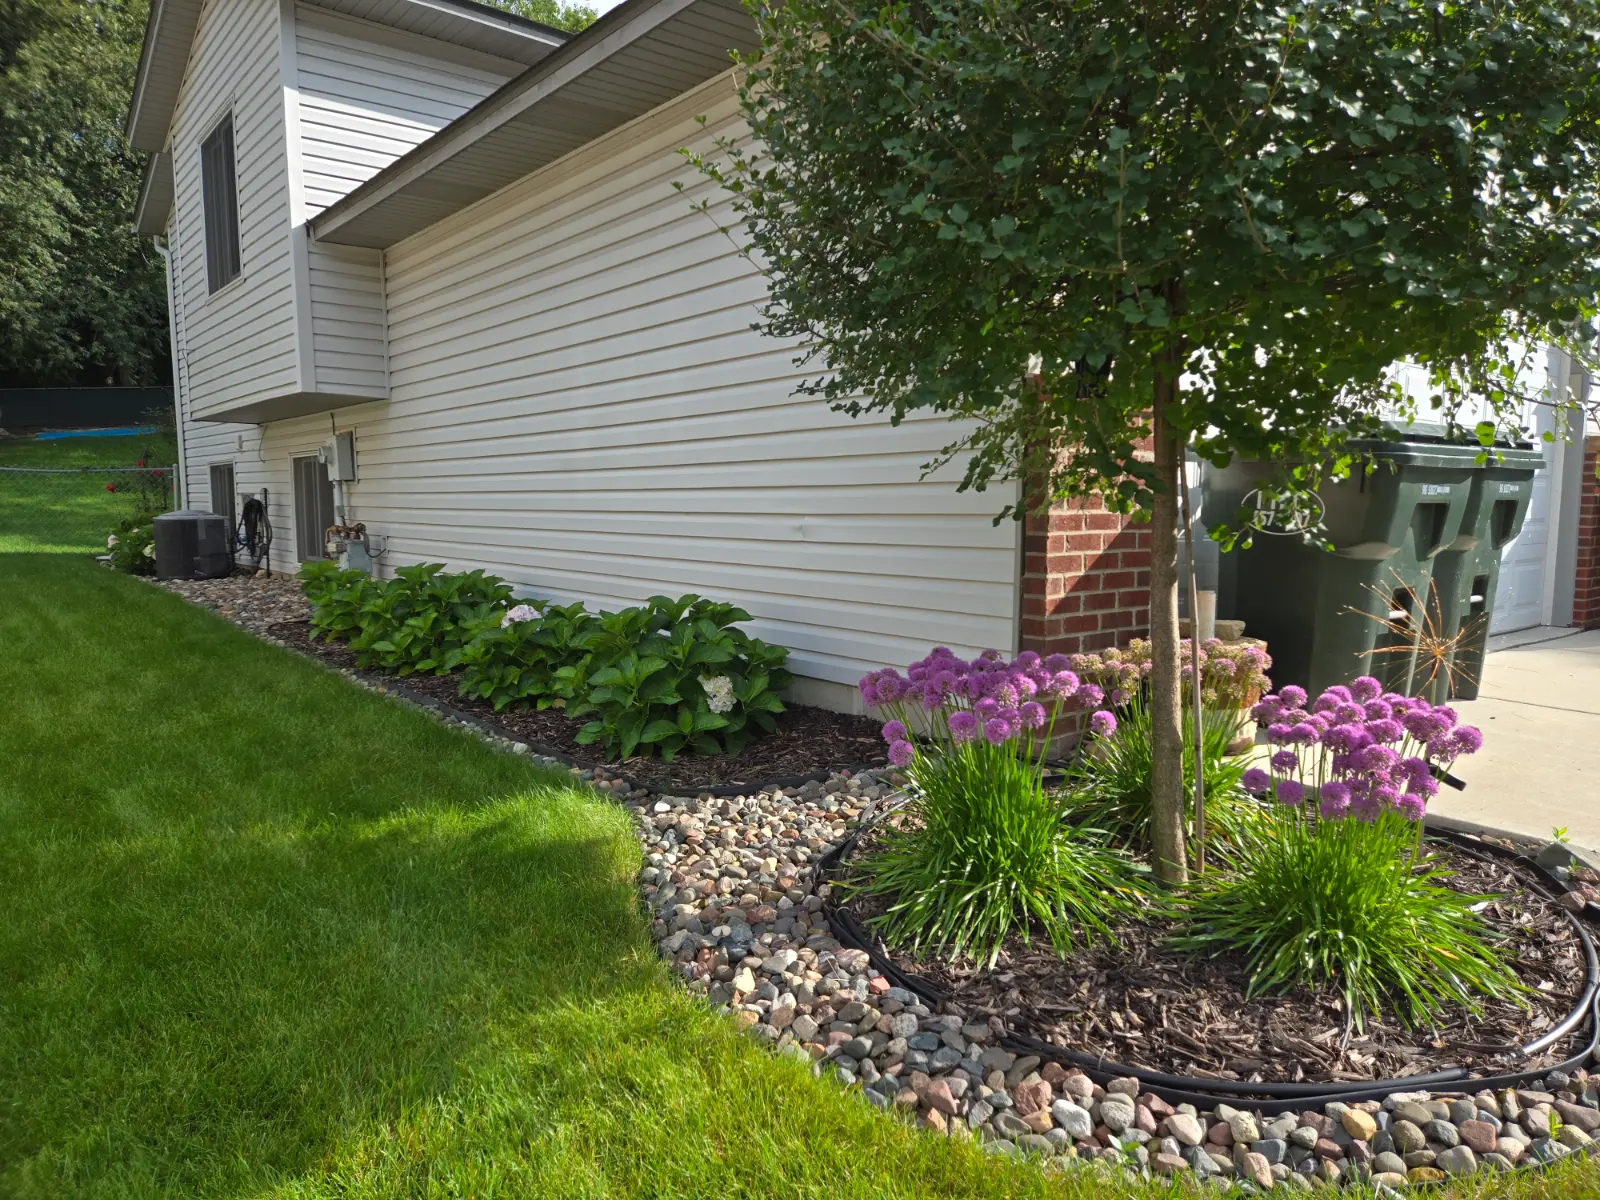
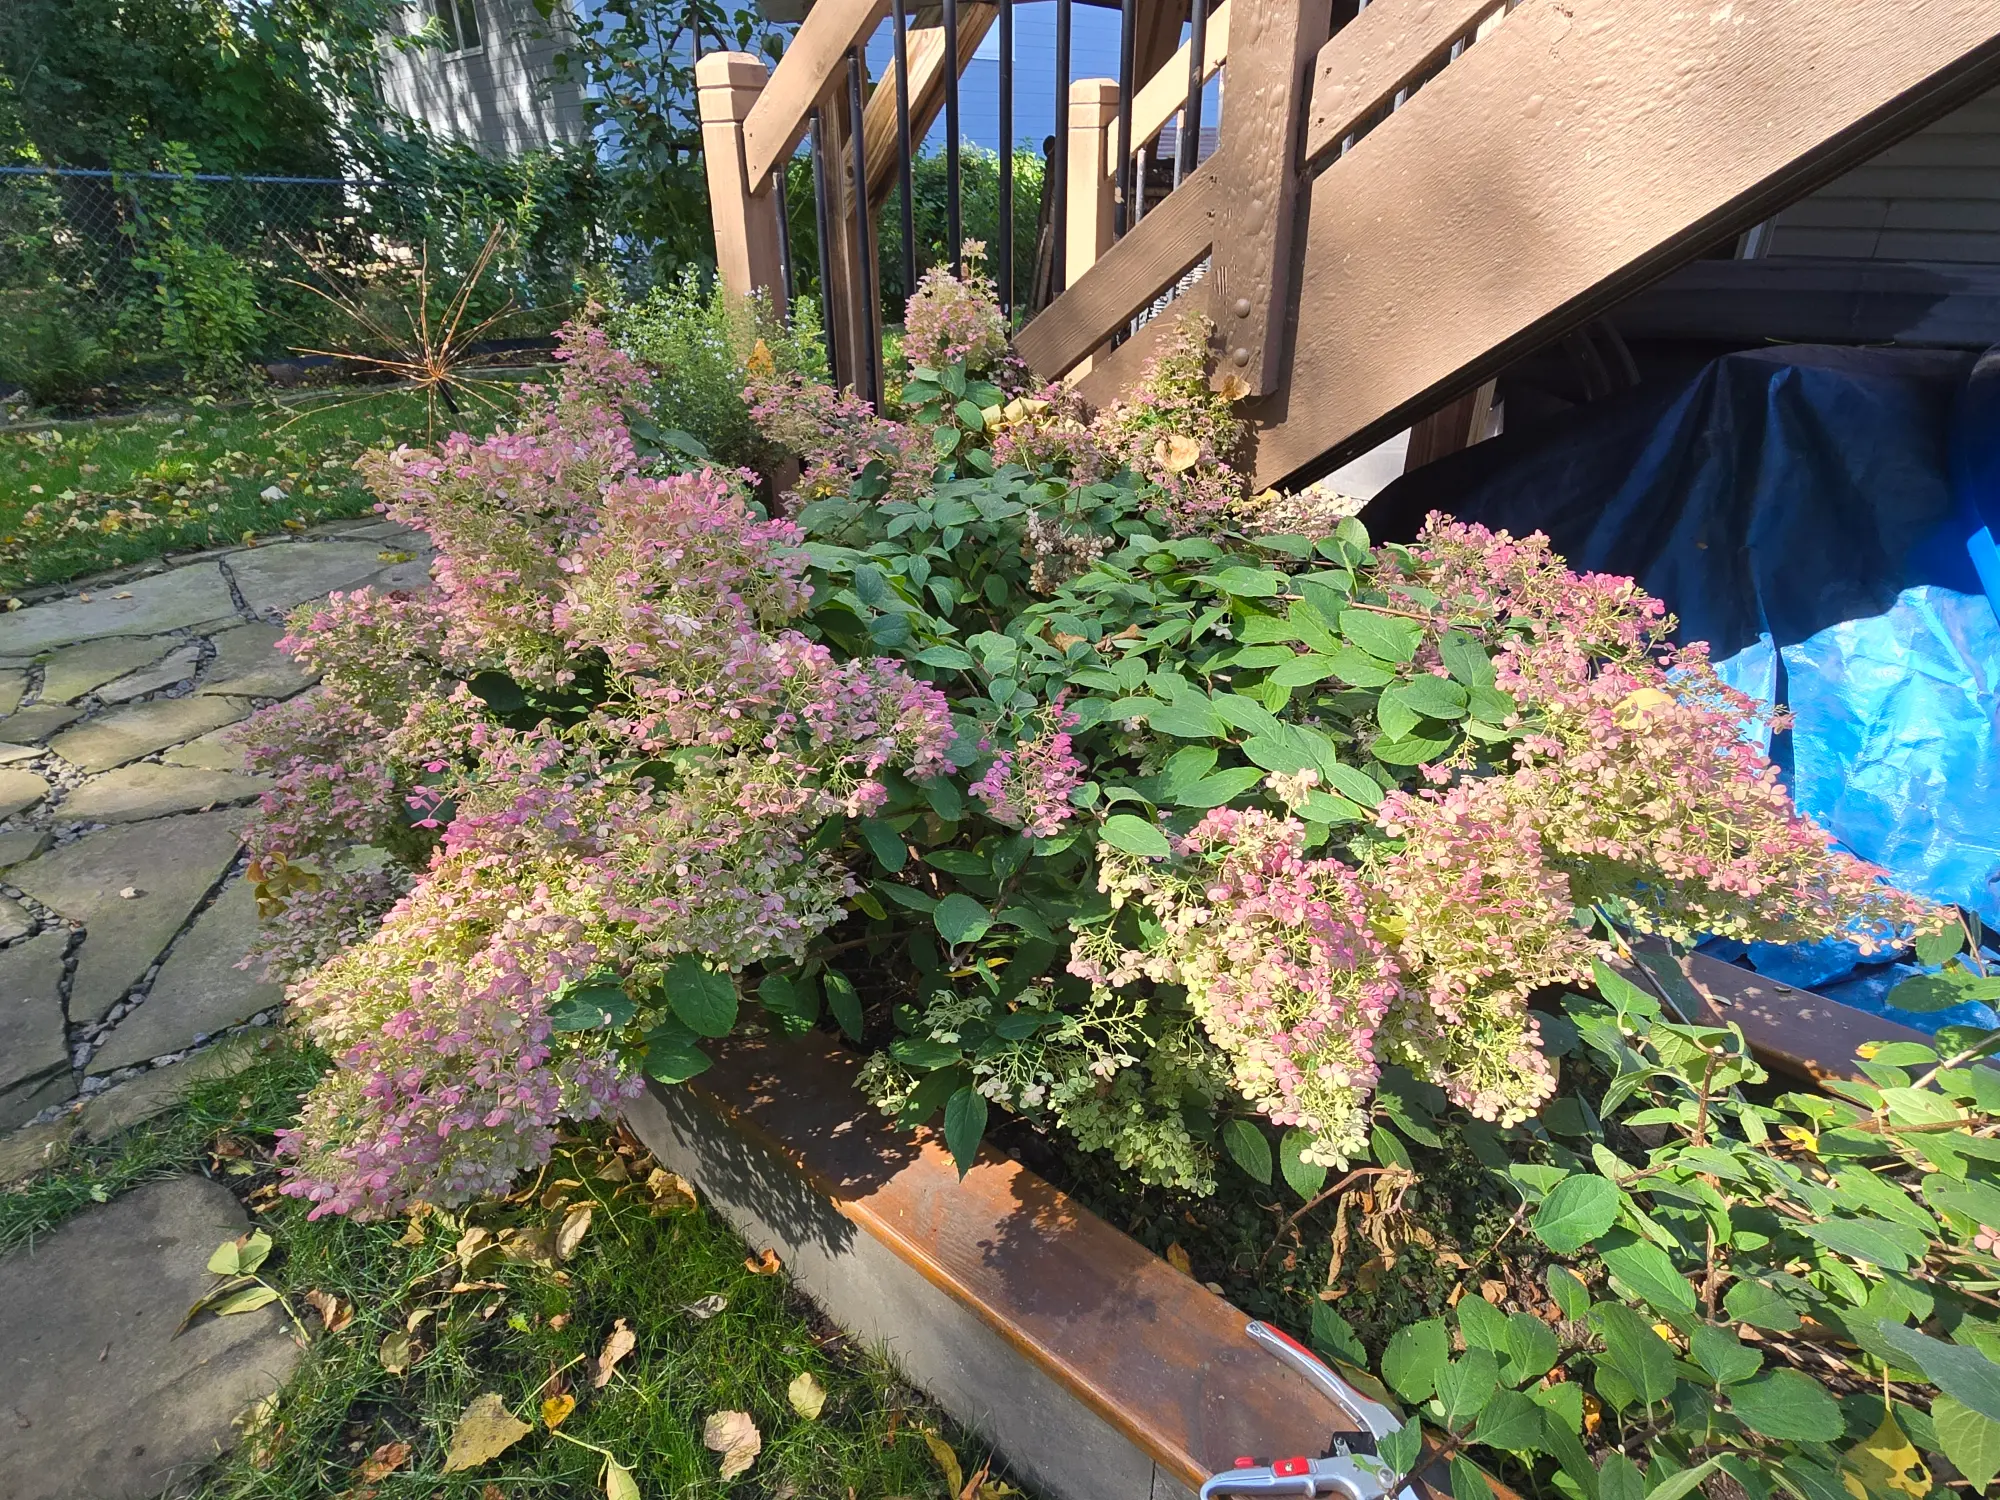
I, however, chose to build my raised bed for my hydrangeas that needed a safe lift from ground level, where after a good rain, they would likely have drowned due to root rot.
Disclosure: Please know there are links shared that may be affiliate links, meaning at no additional cost to you, I could earn a small commission if you click on a link within my post. You can read more about this here.
Step 1 : Where to start
Location
Begin by locating the area you’d like to build your raised beds. Keep in mind you will need to level this area pretty well when you start your project. If you are dealing with a slope you can still make this work, but there could be the potential for more steps to complete your project, as you may need to incorporate a retaining wall if your slope is too steep.
For this post, I will be focusing on a level surface.
Measure
Determine the size of bed you are looking to build so you can figure out the appropriate number of concrete blocks you will need to purchase.
Before I started to measure, I looked up the size of the block I was interested in buying, which was 16 in x 8 in x 4in. I knew I had a smaller area to work with, so I chose against the larger block, and chose the slim version to allow me more growing space on the inside of this raised bed.
I knew my hydrangeas mature size should reach about 3-4 feet wide, so I tried to factor this in as I measured out my area.
Now that you know each block is 16 inches in length, go outside with your measuring tape and see how many blocks you can fit in the area you want your bed. I had an area I wanted to fill that was roughly 11 feet in length, and I wanted to have it wide enough for my shrubs to grow. Once you have a rough idea, take that length and divide it by 16 so you know how many blocks you will need per side.
Make note that you will need to stagger these blocks to make it structurally stronger, so this is another reason it is helpful to know the size block you are working with ahead of time, which in this case has a 4 inch depth.
Do The Math
Determining Length Per Side:
Since I had measured roughly 11 feet, I took that in inches (132) and divided by 16 and came up with 8.25 blocks. Rounding this down to 8 blocks per side, and adding the extra 4 inches to the end to get your complete length measurement.
Determining Width Per Side:
I knew I wanted to have this bed wide enough for my hydrangeas, but also not too wide, as it would be placed at the bottom of our hill and I needed enough level ground for a path to walk on without being slanted from our hill.
I decided to keep this width at 3 feet, so I took the inches (36) and divided that by 16, which gave me just over 2 blocks. Now, factoring in the extra 4 inches for the staggering that would be needed, I had exactly what I needed.
Determining the Height:
My main purpose for this bed was to simply raise my hydrangeas from ground level, so I wasn’t planning on making my bed very tall. I knew I would need a base layer for the foundation of the bed, and knowing the height of the blocks was 8 inches I decided that 2 layers would suffice for my needs.
I figured 8 inches above ground was plenty high, and I’d have a couple extra inches from the base layer as well since I didn’t plan to bury that in the ground all the way.
Determining the Quantity of Blocks Needed:
We now know we will need 8 blocks per side for the length and 2 blocks per side for the width as well as height. I knew I’d need 40 total blocks. I searched my local Home Depot’s website for availability, and they had exactly what I needed to complete my project.
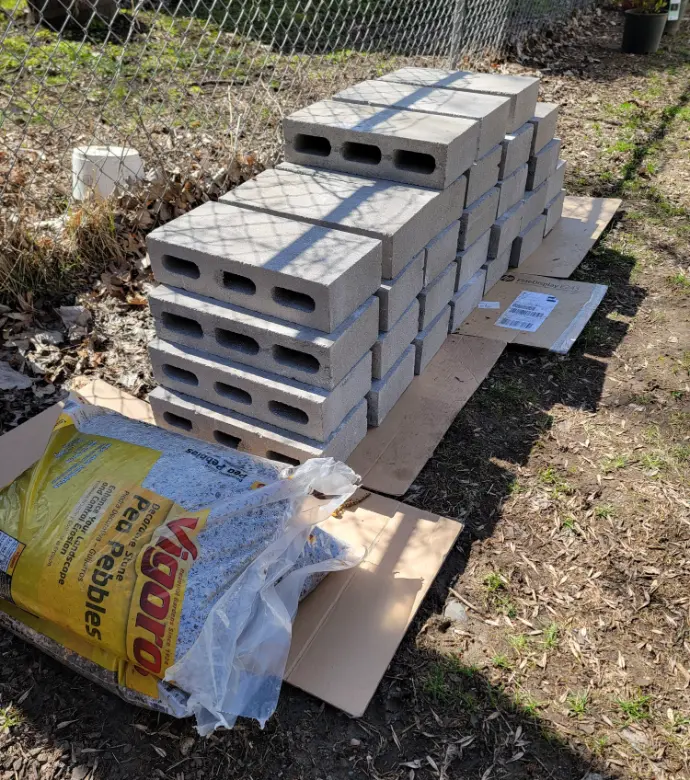
Note: I recommend going here yourself so you can pick out your own blocks, but if it’s more convenient for you to utilize store pickup, just make sure to look them over as there were a few that had some rough damage as we sifted through them.
Step 2 : Gather Your Materials:
The items I needed for this project included concrete blocks, garden tools (to dig with), a pair of gloves, pea gravel, rebar, hammer, caulk, caulk gun for application, and for aesthetics I picked up wood, paint, stain and paint/stain brushes.
Below is a list of items and their current cost based on today’s pricing. You may already have several of the items on this list, but I’ve included them in case you are starting from the beginning.
Items for Raised Bed:
- 20x Concrete Blocks : $31.20
- 2x Pea Gravel : $10.56
- 6x Rebar : $26.88
- 2x Caulk : $6.68
- 2x Weather Treated Lumber : $37.76
- 1x Stain : $24.99
- 1x Paint : $29.98
Subtotal: $168.05
Other Items Used (Previously Owned):
- 1x Torpedo Level : $9.99
- 1x Garden Rake : $24.98
- 1x Garden Shovel : $33.60
- 1x Trenching Shovel : $31.27
- 1x Caulk Gun : $11.99
- 1x Sledge Hammer : $41.95
Subtotal: $153.78
Complete Project Total: $321.83
I should mention that due to other landscaping projects I had been working on around the yard I didn’t need to purchase any soil to fill the beds. This of course would be another expense you would need to consider, and not necessarily a cheap one. I’d suggest looking for a local landscape supplier in your area and purchasing dirt from them. However you could buy by the bag for the convenience, but this would add up quickly.
Example: based on my raised bed which was 11 ft x 3 ft x 1 ft, I’d need roughly twenty 1.5 cu ft sized bags according to a calculator I found online, which could nearly cost you as much as the project itself. You could pick up a truck load of soil for a fraction of the cost if you did it yourself. This is something to strongly consider when budgeting for a project like this.
Of course there are ways to fill the bed with things like sticks, branches, leaves, etc. This is what I chose to do with my vegetable garden beds that I will write about under another post. You could also search around and see if anyone is trying to get rid of dirt on places like Facebook Marketplace. I like to look here for things I have been needing for the garden, or to find things I didn’t know I needed until I found it, haha!
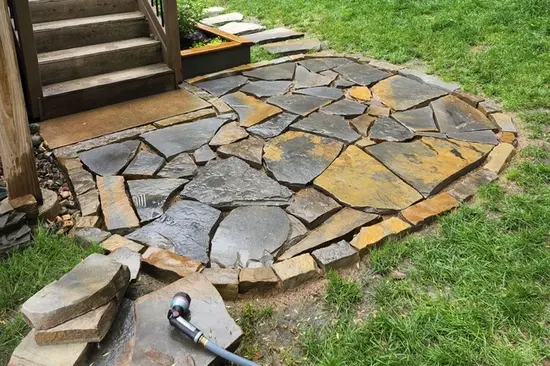
Step 3 : Ground Leveling for Base Foundation
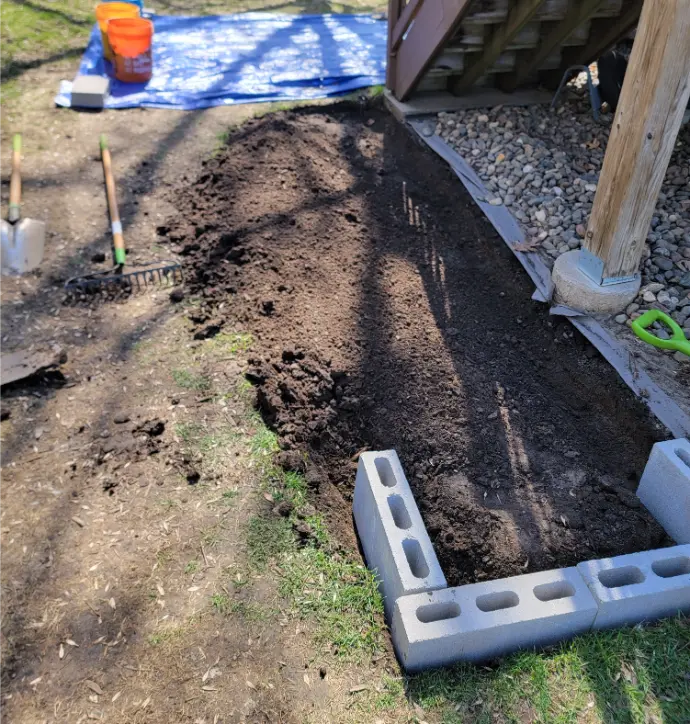
Start Digging
This is honestly the one step you want to put most of your energy into perfecting. Start digging up the area around the location you want to install your concrete blocks, and go as deep as you feel necessary, keep in mind you will want a little extra depth to work with the pea gravel, which we’ll discuss later. I think I dug down about 6 or 7 inches myself, which allowed me to work with the gravel and leave a couple inches for my first layer block to be above ground level.
Note: Depending on how level your area is to start, I found having a garden rake handy to smooth out the area and move dirt around fairly quickly and easily. Outside of this purpose, you might not require this tool for the project.
Placement
Once you’ve removed enough dirt to frame out your bed, set your first layer of blocks in the excavated area to see what you will be working with. Do they seem fairly even, and are they at a height you’d like to begin at?
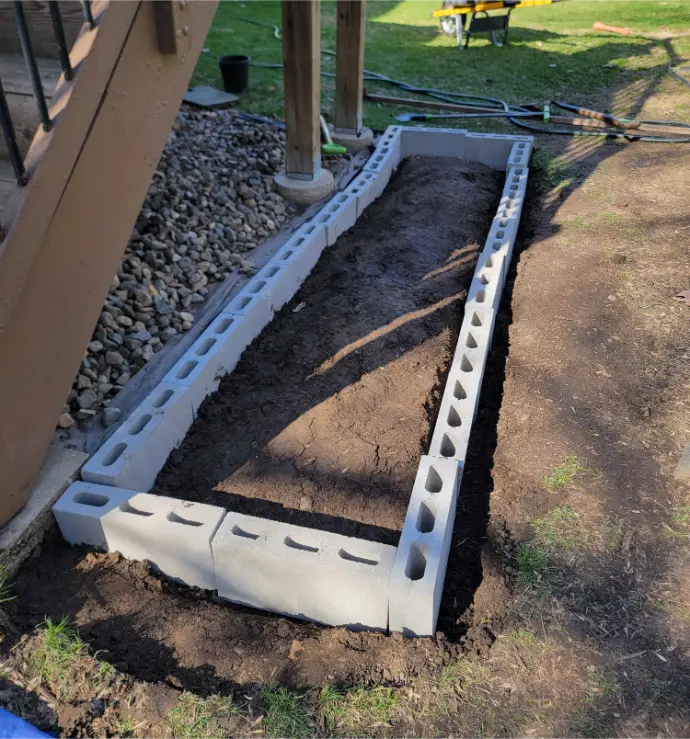
Now that things seem to be going in the direction you want, remove one of the blocks and add a layer of pea gravel, then place your block back. This will be your starting point. Remove each block next to the last, doing the same step. However now make sure to keep them level, which is where the Torpedo Level comes in.
Note: If it’s difficult to use the level on the existing blocks, grab a slab of wood or something flat that you can rest on the blocks and take your measurement from that.
This process can be time consuming and sometimes difficult, but as mentioned above, it’s the most important.
Adding Layers
Now that your base is complete, and seems level, the rest is a piece of cake. 🙂 Before you secure the next layer with caulk, I suggest laying the additional layer on the base – making sure to stagger as you go.
Check to make sure each block lines up nicely with the next, and the top of the blocks remain level with each other. This is important if you plan to add the wood on top to complete the look, however not as important if you leave this bare.
Optional Support
I imagine this step is optional, however I chose to include some additional support using rebar in the main corners and the middle of bed, front and back. Once I felt the 2nd layer was good, I removed each of the blocks and placed the rebar in the small opening on each block, fairly close to the outside layer (not directly in the center). Using a sledge hammer, I pounded the rebar in so it seemed secure and deep enough so it remained below the top of the 2nd layer.
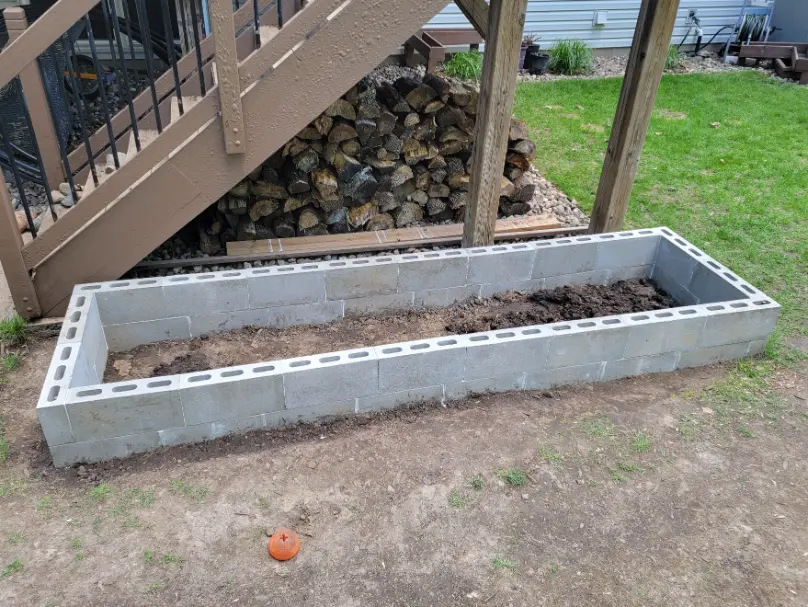
Secure The Blocks
Place each of the blocks back on your base layer in the staggered fashion, making sure the areas with rebar fit snuggly. If these look good, grab your caulk gun and begin with a few sections at a time.
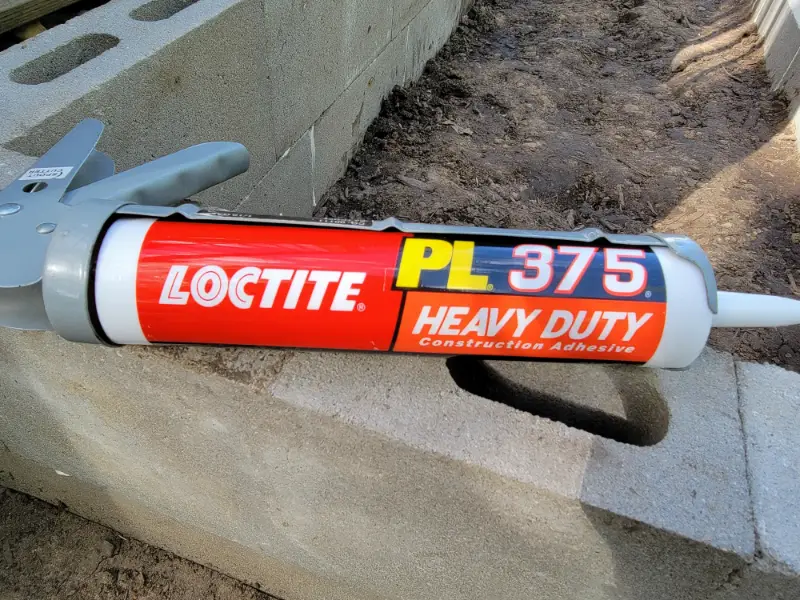
Remove the blocks and caulk the top of the base layer, and one at a time add the 2nd layer of block. Before adding a block next to the first, make sure to caulk the sides as well. Then you can secure each block one at a time until you make your way around the entire bed.
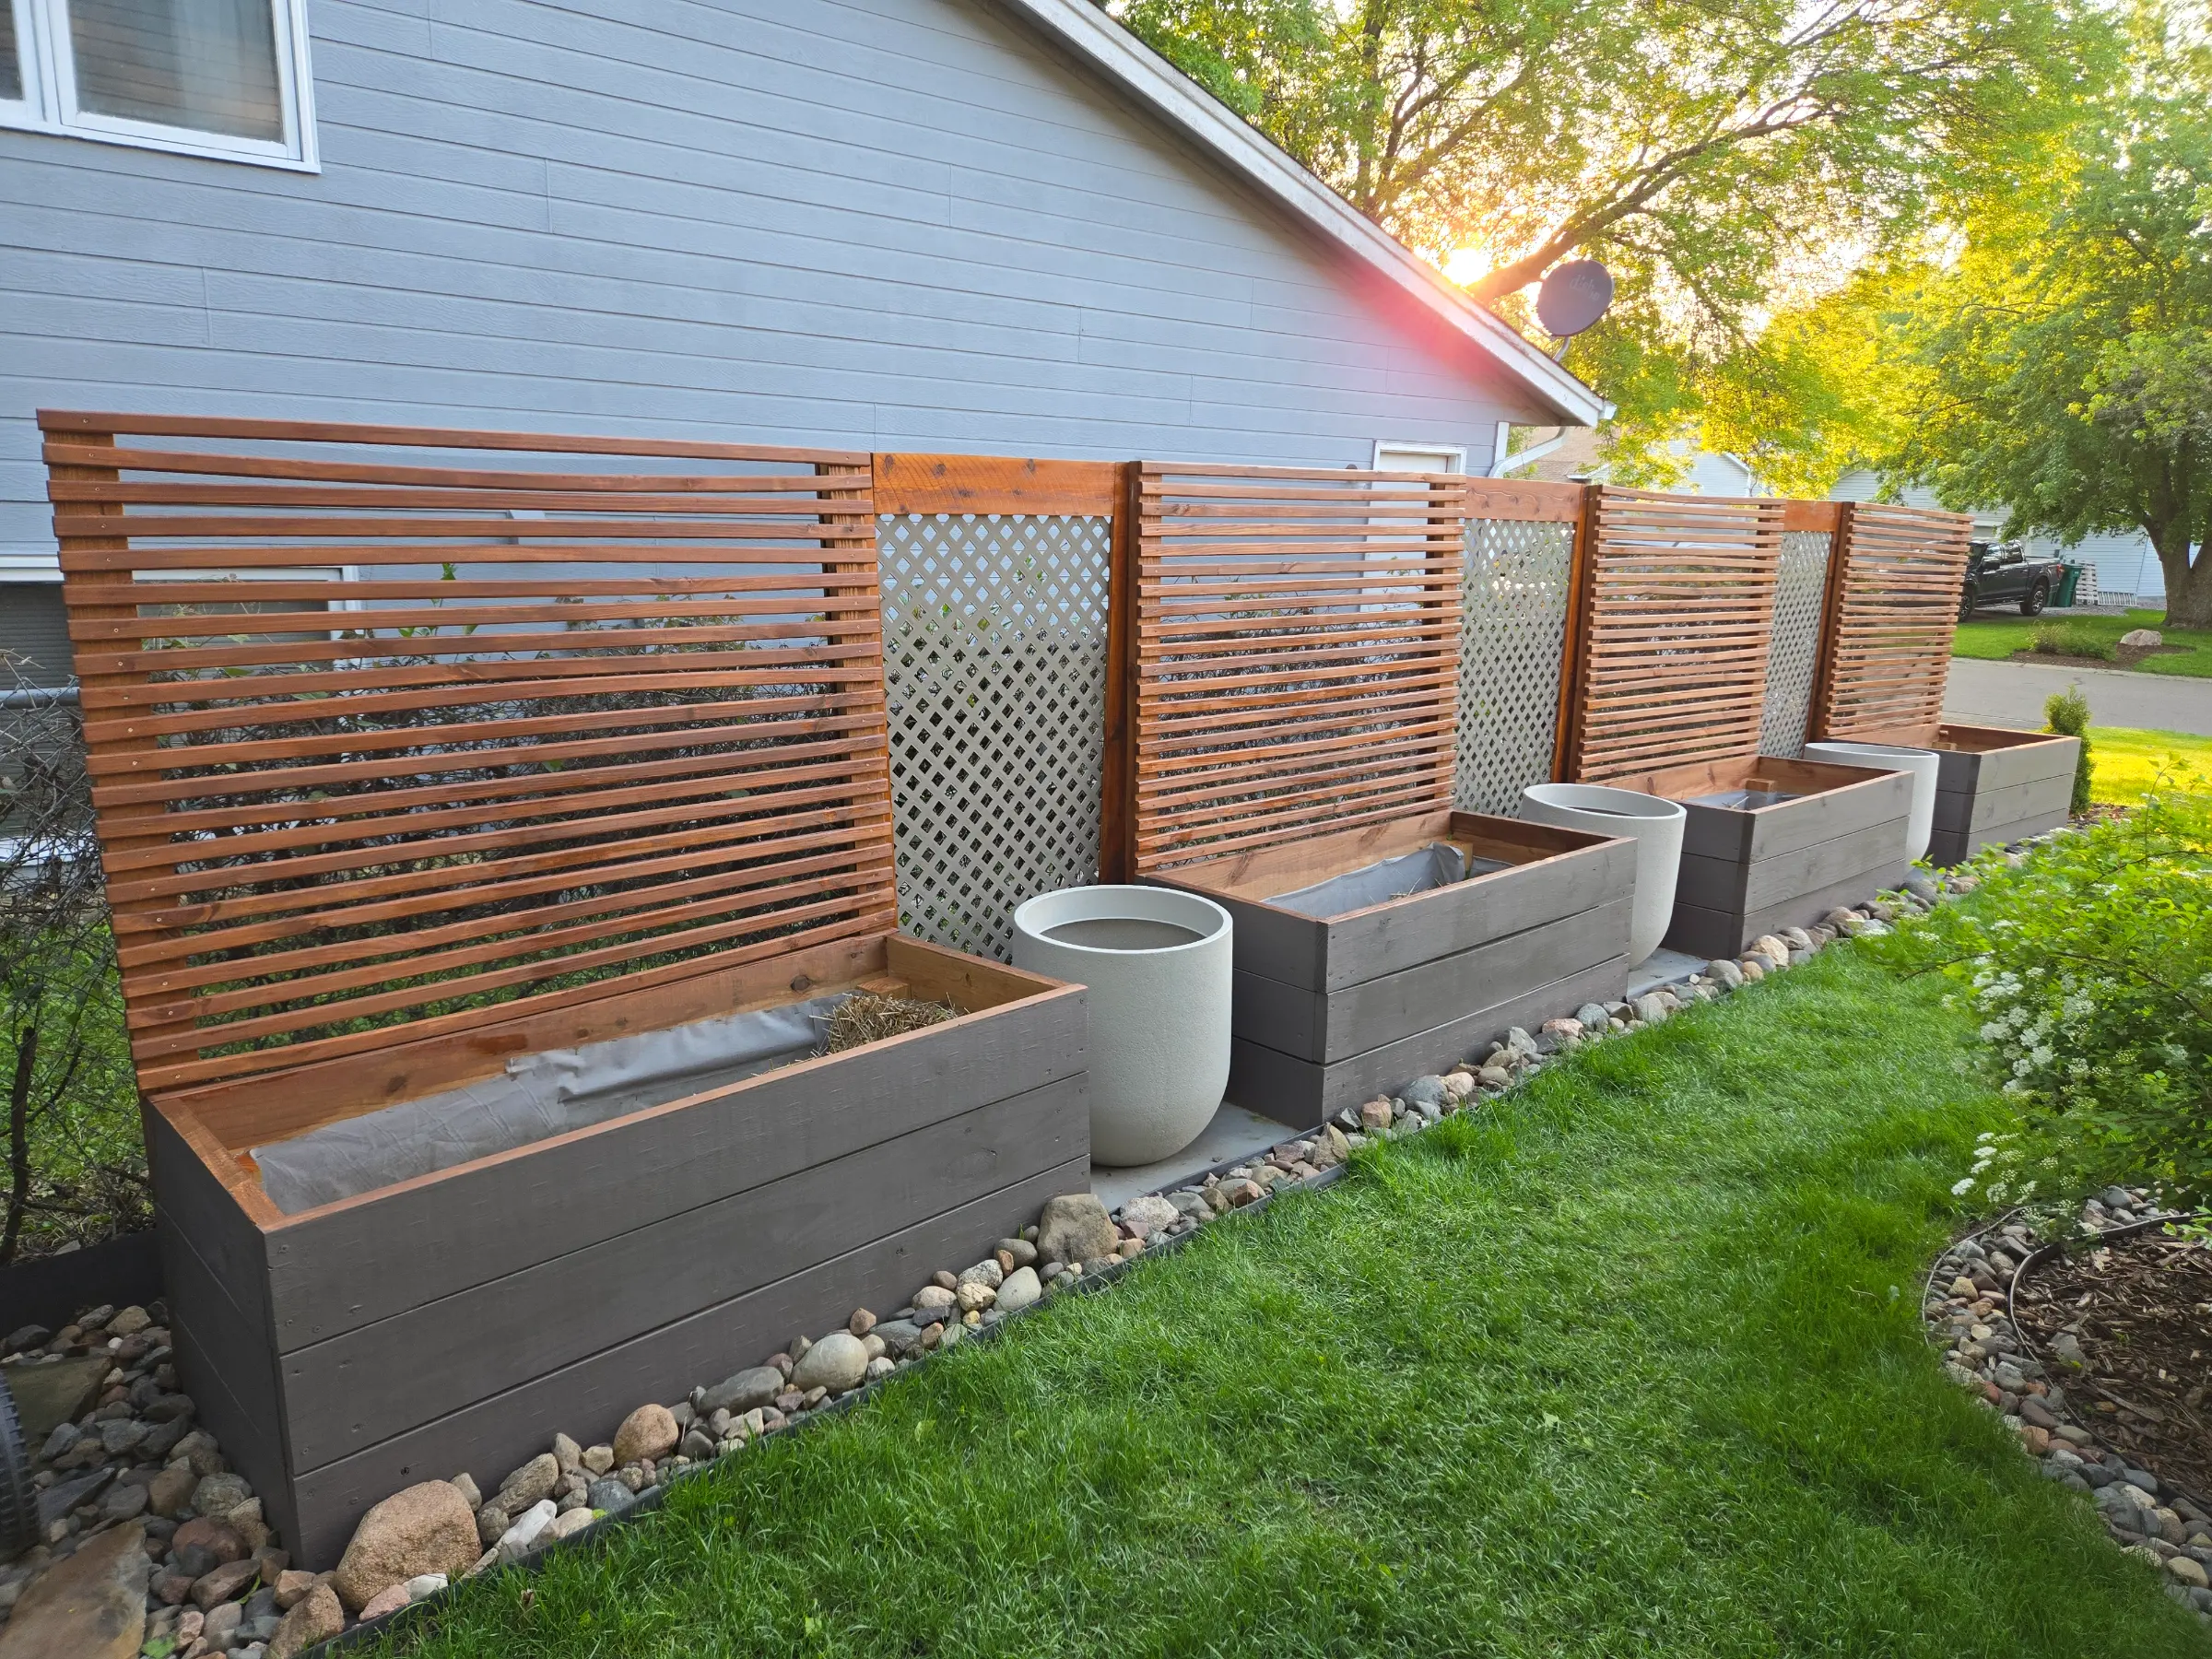
Step 4 : Aesthetics
If you are choosing to add a little extra to your raised bed, by painting the blocks and framing the top with wood then you will want to make sure to cut your wood to size and stain it before securing it to the top of your bed.
Wood Frame
The lumber I chose was 16 feet in length so that I could get as much cut from it, based on what I needed, from a single piece of wood. So in this case I could cover the front and side of my bed with a single piece of wood.
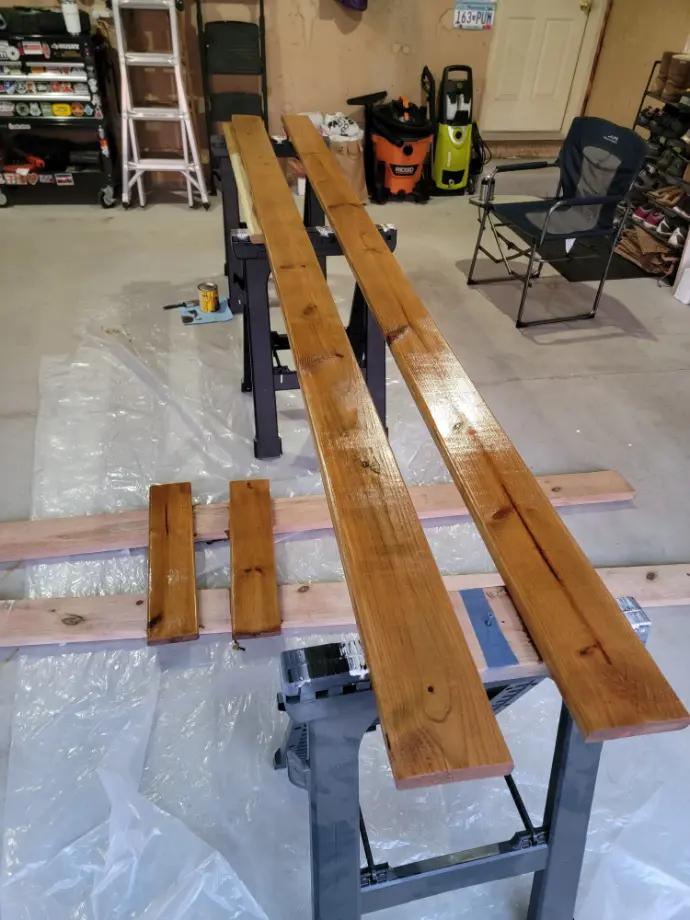
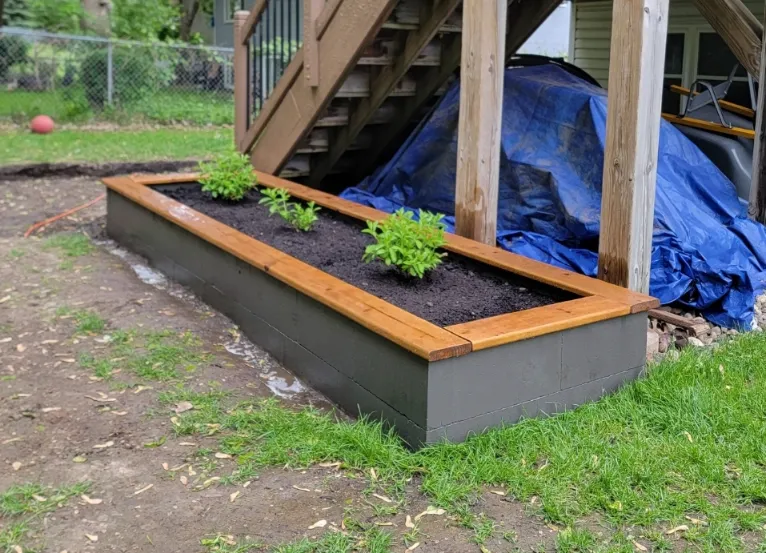
Once everything was cut to size, I stained it all the way around. By doing this, even with treated wood, I hope to preserve the life of the wood since it will be exposed to all our Minnesota seasons.
Paint the Bed
While you wait for the stain to dry completely, you can start to paint the bed. Not necessary, but since you are dealing with outdoor elements I like to sweep off any debris or dirt that might be on the block, but this is up to you.
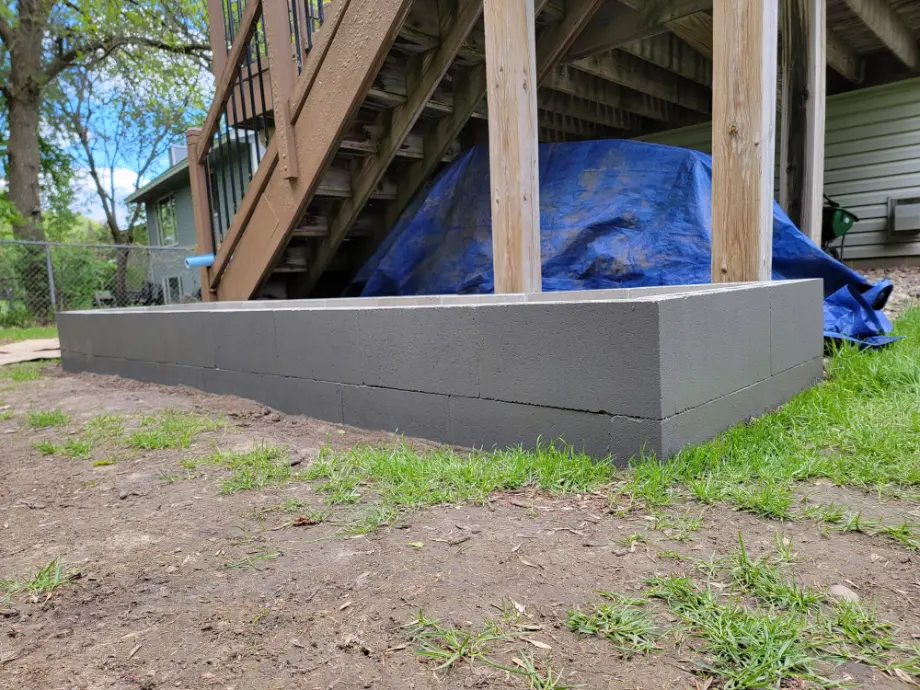
It can be difficult to paint close enough to the ground without touching the brush to the dirt, but keep in mind this will likely be covered up once grass grows back in this area so no need to be perfect here. You may also see in my pictures that I did paint the top portion of the inside of my bed, but honestly that is not needed. I think I was just enjoying painting the block and kept going. My plants and dirt cover this up now, so you’d never know the difference.
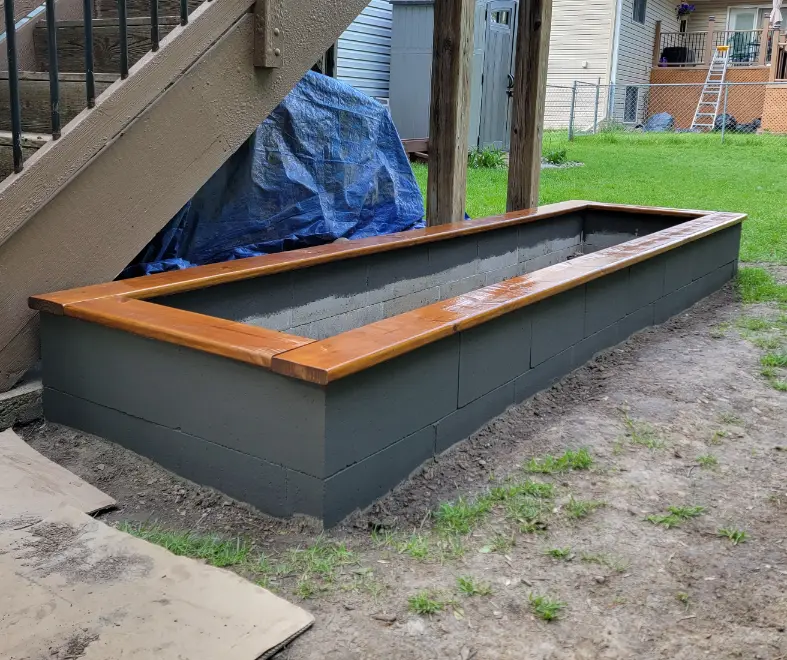
Frame The Bed
Now that your stain and paint have dried, you can add the wood to the top of the bed and frame it to complete your look. Same as before, make sure everything looks good and lines up where you want it before securing it down with caulk.
This is fairly simple, but I’d suggest finding a few heavy rocks/objects that you can place on the corners of the wood once you have them glued down. Feel free to use a decent amount of caulk around the center of the block, but be careful of getting too close to the outside of the block as it may seep through when you place your wood down, and then you’ll need to wipe it up around the bed.
Step 5 : Fill with Dirt
Now that your bed is built, and your glue has hardened. If everything feels secure, it’s time to fill your bed with dirt. As I mentioned above, you can start by filling your bed with yard materials such as sticks, leaves, grass clippings. Really whatever you feel would eventually decompose with time, and benefit your soil.
I built my vegetable beds before fall so that I could fill them with all the leaves, branches, and grass clippings I would gather during my fall clean up. This helps quite a bit if you are dealing with tall beds, and it keeps your yard waste bin from filling up too quickly.