How I Built a Raised Bed using Concrete Blocks
Interested in building a raised garden bed using concrete blocks? In this post, I will share my personal experience, providing you with the steps necessary to create a similar bed of your own.
Have you been dreaming of a raised bed garden, but you’re not sure where to start or what materials to use? I’ve been there — and after weighing a few options, I landed on something practical, sturdy, and surprisingly simple: concrete blocks.
Not only are they budget-friendly, but they also won’t harm your soil, which is great news if you’re planting edibles. In my case, I used them to give my hydrangeas a healthy lift, protecting them from the soggy lower section of my yard, which I wrote about under Planting Hydrangeas In Raised Beds. If you’re dealing with poor drainage or sloped ground like me, this might be the solution you need.
Below, I’ll walk you through my project — step by step — and share my tips so you can build your own concrete block raised bed too.
Why Concrete Blocks?
I chose concrete blocks for several reasons:
- Durability: They’ll last for years without breaking down.
- No tools needed for cutting or shaping.
- Safe for soil and plants.
- You can easily customize the shape and size.
Step 1: Choose the Right Location
Start by identifying a level area in your yard. If you’re working with a slope, you can still make it work — but expect a few more steps (you might need to build a small retaining wall).
Since my bed was going to be near the base of a hill, I made sure there was still room with enough level ground for a walking path to be built along the bed.
Step 2: Decide on Your Bed Size
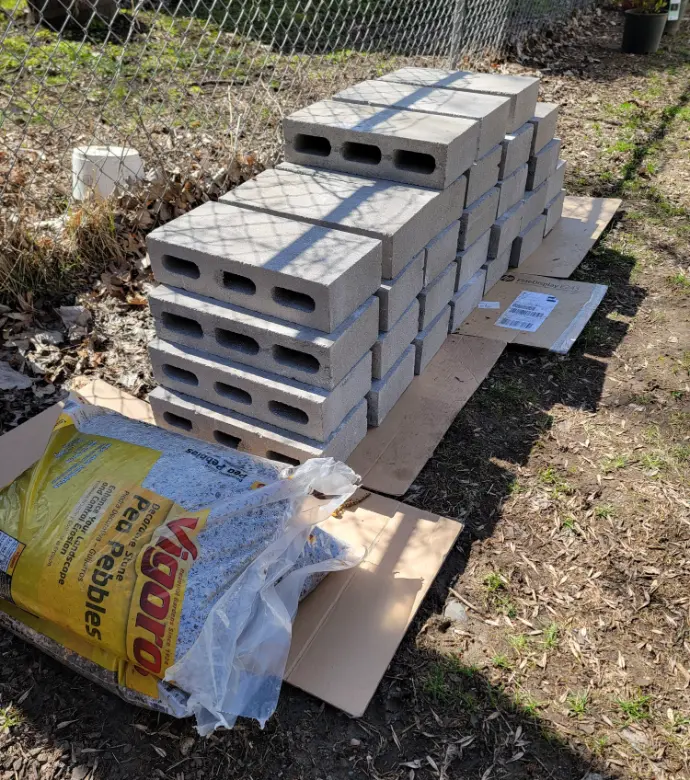
Before buying anything, figure out how large you want your bed to be. I used slim concrete blocks (16″ x 8″ x 4″) to save space. For my hydrangeas, which grow about 3–4 feet wide, I aimed for a bed about 11 ft long and 3 ft wide based on the area I had to work with.
Here’s How I Did the Math:
- Length: 132 inches ÷ 16″ blocks = 8.25 blocks (I used 8 per side)
- Width: 36 inches ÷ 16″ blocks = a little over 2 blocks
- Height: Two layers of 8″ high blocks = 16″ total height
Total blocks needed: 40
Step 3: Gather Materials
Here’s what I used (prices based on what I paid at the time):
Essential Materials
|
Item |
Quantity |
Cost |
|---|---|---|
|
40 |
$72.80 |
|
|
2 bags |
$10.56 |
|
|
2 tubes |
$6.68 |
|
|
2 boards |
$37.76 |
|
|
1 |
$9.99 |
|
|
1 |
$33.60 |
|
|
1 |
$11.99 |
|
|
Subtotal |
$183.38 |
Optional Add-Ons (for aesthetics + support)
|
Item |
Quantity |
Cost |
|---|---|---|
|
1 |
$24.99 |
|
|
1 |
$29.98 |
|
|
Rebar (for extra strength) |
6 |
$26.88 |
|
1 |
$41.95 |
|
|
1 |
$24.98 |
|
|
1 |
$31.27 |
|
|
Optional Subtotal |
$180.05 |
Total Project Cost: Around $363.43
Note: This doesn’t include soil. More on that below.
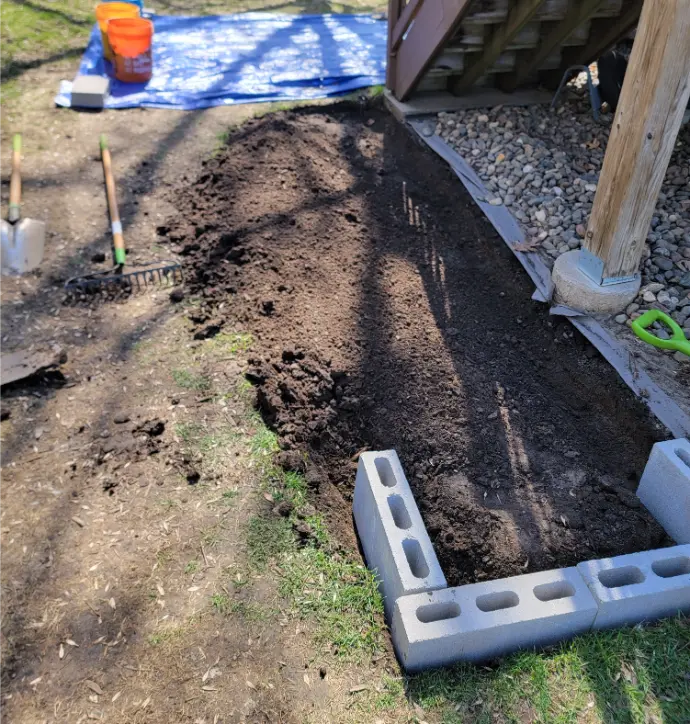
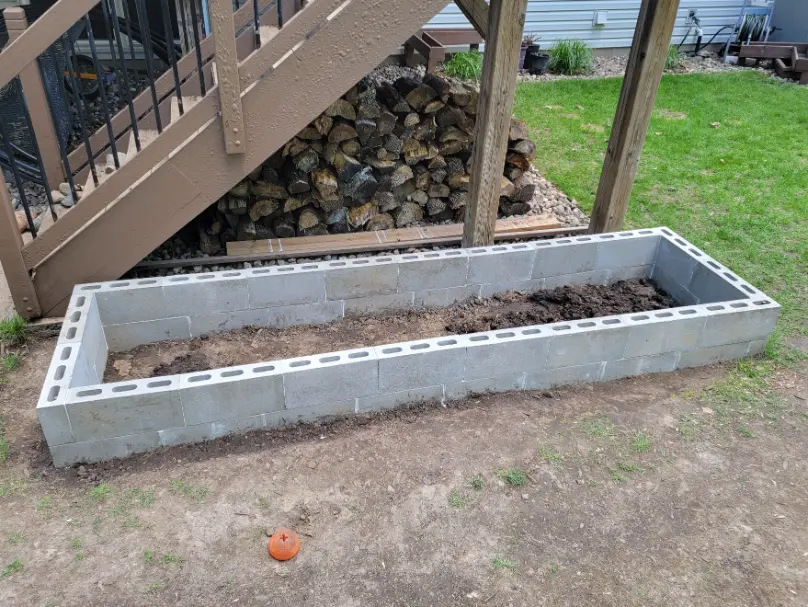
Step 4: Prep the Ground
This is the most important step, and it takes a bit of effort is leveling the ground before adding your base.
What I Did:
- Dug down about 6–7 inches where the blocks would sit.
- Raked the area smooth to help level it out.
- Laid my first row of blocks, then removed them one by one to:
- Add a layer of pea gravel for drainage.
- Use a torpedo level to make sure each block was even before stacking the next.
- Add a layer of pea gravel for drainage.
Tip: Use a flat piece of wood across blocks to help with leveling if your having a hard time gauging how level your bricks are using the torpedo. This should help you feel it out too if the wood starts to wobble.
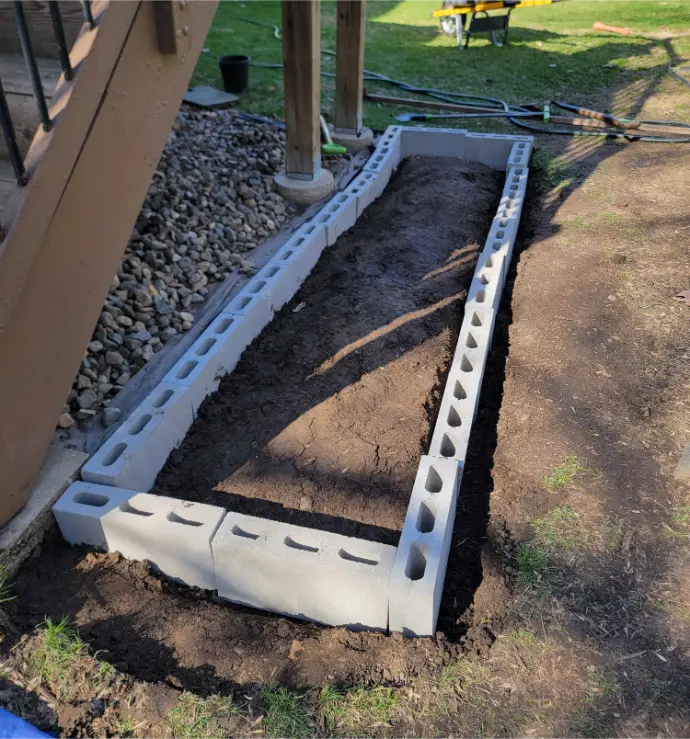
Step 5: Build the Bed
Once your base is level:
- Dry stack the second layer to test placement.
- Stagger the blocks for better structure.
- Use rebar in corners and midpoints if you want extra support.
- Once happy with the layout:
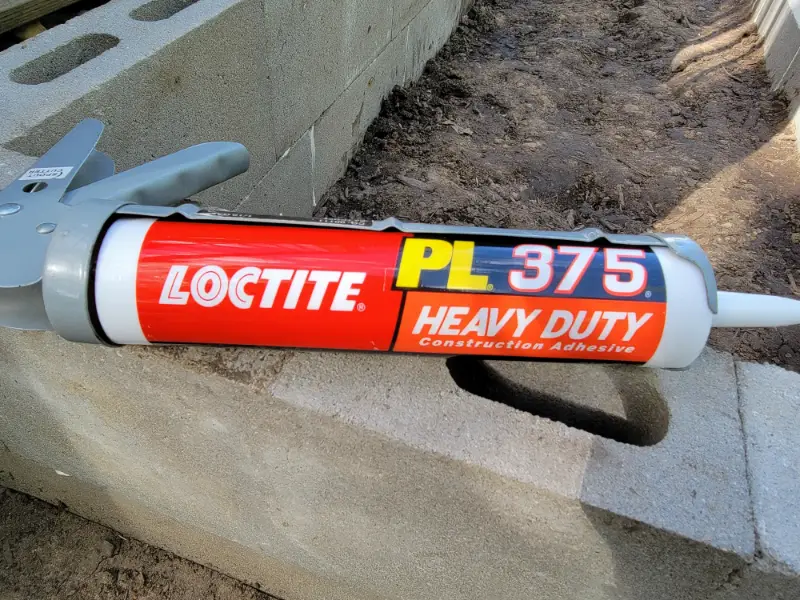
- Use the Construction Adhesives on top of each base block, plus the sides.
- Use the Construction Adhesives on top of each base block, plus the sides.
Secure the second layer block-by-block.
Step 6: Customize (Optional)
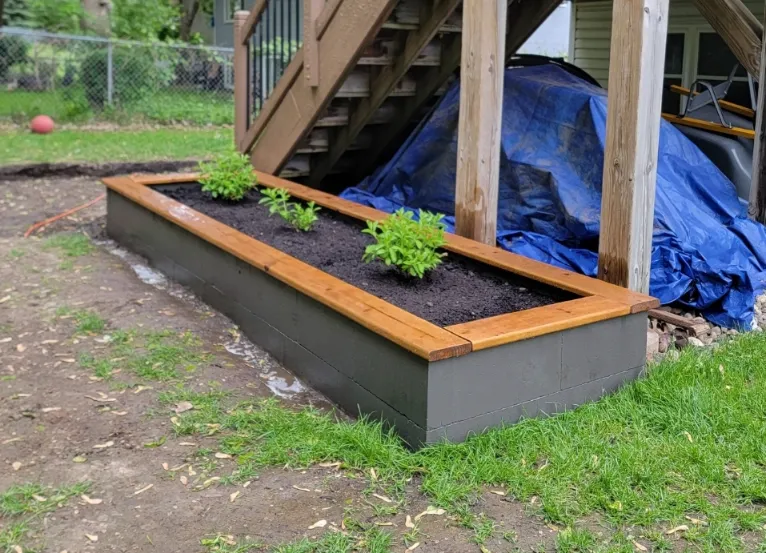
I added a stained wood trim to the top of the bed for a polished finish.
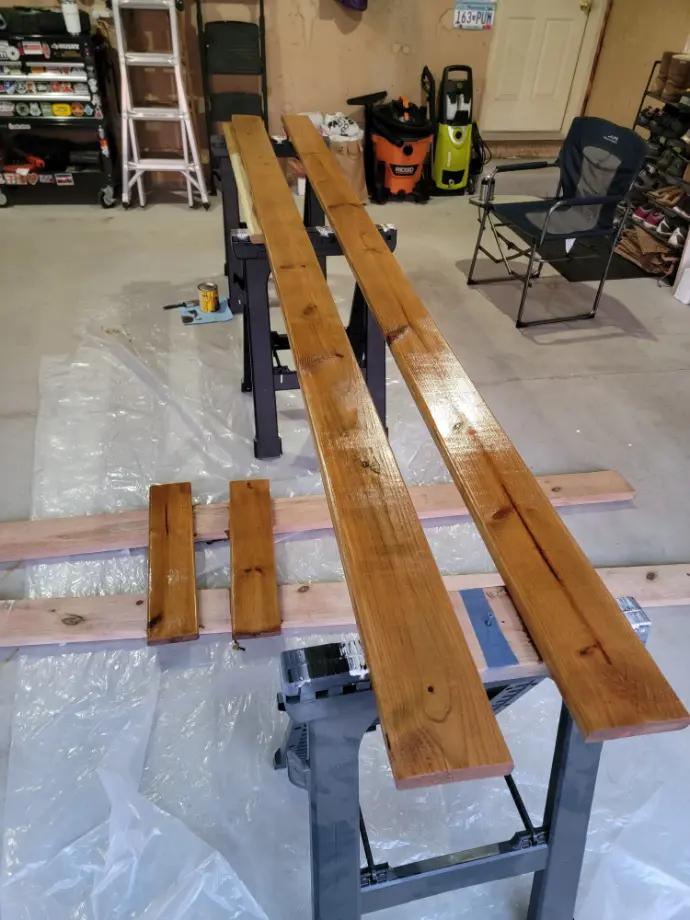
What I Did:
- Cut wood to size (I used 16-foot boards to reduce waste).
- Stained and sealed the wood completely.
- Glued it down with construction adhesives and added heavy objects on top to keep it in place while drying.
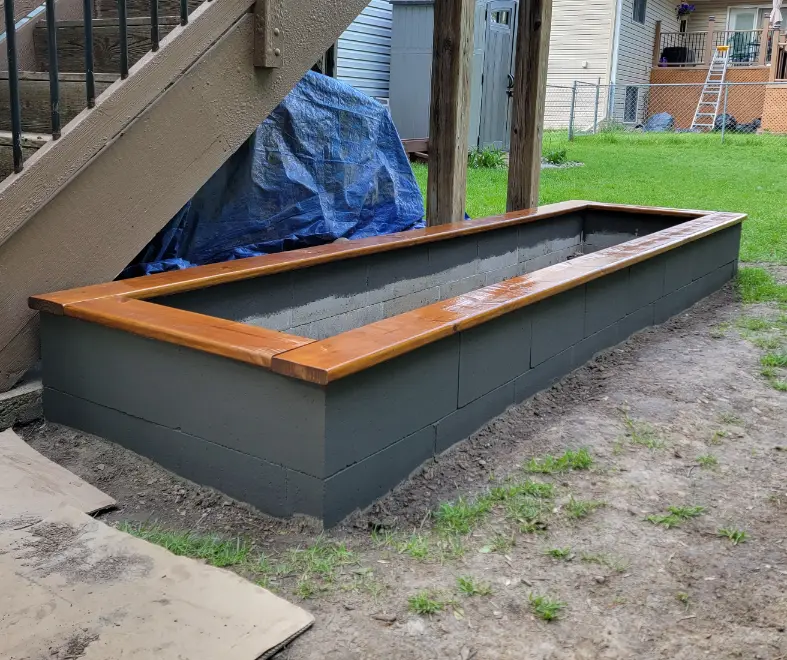
You can also paint the blocks if you’d like. I did this for fun — but honestly, it’s totally optional. Just sweep off any dirt before painting, and don’t stress about perfection.
Step 7: Fill the Bed
Soil can be expensive — and in fact, soil cost can rival the project itself.
Budget-Friendly Tips:
- Layer the bottom of your bed with yard waste: sticks, branches, leaves, grass clippings.
- Use the hugelkultur method if you’re building a deep bed.
- Check Facebook Marketplace for free dirt or compost.
- Buy in bulk from local landscape suppliers if needed.
For my hydrangea bed, I had leftover soil from other projects — a lucky break!
Final Thoughts: Would I Do It Again?
Absolutely! Building with concrete blocks was:
- Affordable
- Simple (no power tools required!)
- Long-lasting
- Customizable
It took some patience, especially during leveling and block stacking, but once the foundation was set, the rest came together fast. My hydrangeas are thriving in their new, elevated space.
Alternatively if you want to build this bed for vegetables that would work too, however I chose to build mine out of wood for added features needed to hold back invasive grape vines. You can read how I built that bed under, How to Build Functional Raised Garden Beds.
If you’re looking for a DIY raised bed option that’s accessible and sturdy, I highly recommend giving concrete blocks a try.
Have Questions?
Feel free to leave a comment or share your own raised bed tips below! I’d love to hear how your project goes.
Happy gardening! 🌿